Our
Home - 2013 News
|
|
We started work on the kitchen in 2012 but didn't manage to finish it so the second set of photos are on this year's page.
|
|
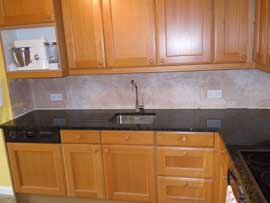
This is where we'd got to by the end of 2012 - the new worktops were on, the walls replastered and the tiles ordered. |
|
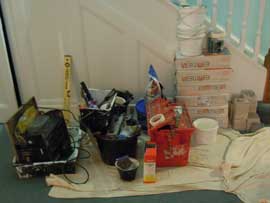
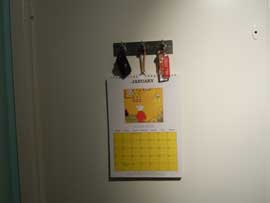
Terry and Simon came back in January 2013 to put the tiles on, paint the walls etc. Good to see his stuff back in the hall as it means things were moving on! |
|
| |
First big question ... what colour should we have the walls? The tiles are a grey coloured natural stone so yellow wouldn't do at all. The flooring is grey-blue and the carpet in the hall is a dark blue-green (same as the hall). Eventually we decided to go with the same colour walls as the hall (Dulux Javan Dawn 5) with one shade lighter for the ceilings. |
.jpg)
First day and the ceilings were all done
|
.jpg)
Day 2 and the walls were now painted.
|
.jpg)
Couldn't believe how much bigger it looked.
|
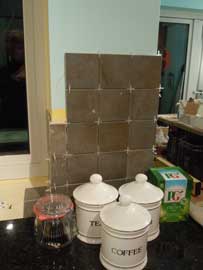
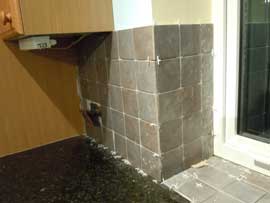
Day 3 and the tiles started going on ... |
|
|
| |
Day 4 ... gloss was all done.
It depends on the light what colours the tiles seem to be! No surprise there. If you looked over by the sink it was all coming together ...
|
|
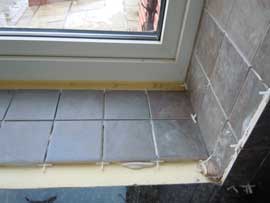
... but there was still a lot of tiles to put on ...
... including both window sills and the whole of that side of the kitchen.
Good progress was being made though.
|
|
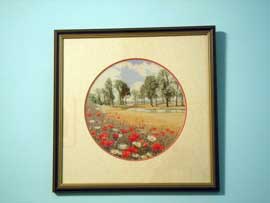
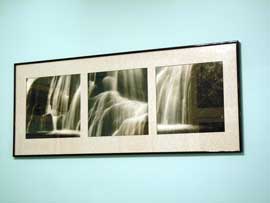
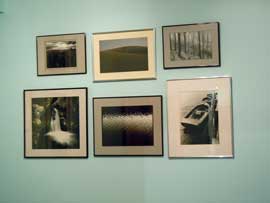
Over the weekend we got some of the stuff back into the walk in cupboard and the pictures back on the walls - starting to look like home again. |
|
|
|
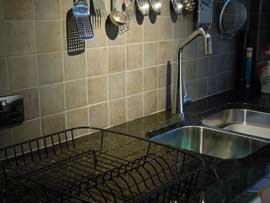
Then the rail for the spoons, sieve etc and the key hooks were put up. |
|
|
|
By 28 Jan all the tiles were in place - still with lots of spacers to hold them where they needed to be.
By 29 Jan the grouting was done and we were just about there ....
|
|
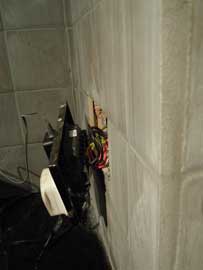
... but the electrics still needed to be sorted out |
|
.jpg)
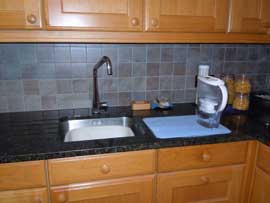
It was lovely to get my implements back in the kitchen!
|
|
All done except the blinds - hurrah! |
|
|
|
|
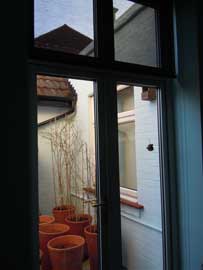
The blinds were fitted by Amity. They are a kind of black mesh, more of a sun screen than blinds. You can't see in from the outside during the day but you can see in if we have the lights on in the dark. They are very good at keeping the sun off the fruit etc.
On the left the blind is down whereas it's half and half in the photo on the right. The outside wall also needed to be repainted to be a similar colour to the dining room (it was yellow before because the dining room was yellow).
|
|
|
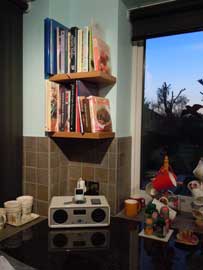
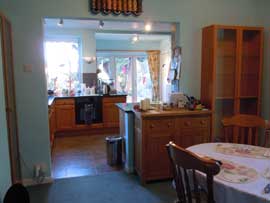
Finally, Wealdon Woodcraft put some shelves up for us and I took great delight in putting the herbs, spices, mugs and recipe books on them.
All done!
|
As a reminder, here are a few before and after photos. |
|
|
|
I still haven't got used to the way the worktops reflect the light (and everything else). I often look twice thinking there's something moving in the kitchen but it's just the way the light catches the worktops. |
|
|
|
Of course, as we had the kitchen redecorated, we also had to have the dining room re-done as well so, instead of yellow it is now a bluey-green colour (same as the hall, stairs and landing - dulux Javan Dawn 5). |
|
Again, a before and after comparison. |
|
|
|
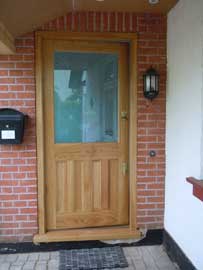
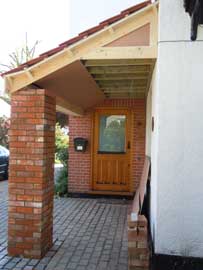
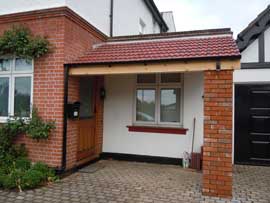
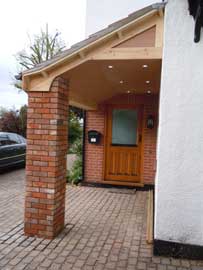
The other main job for 2013 was replacing our front door. We had a new door made soon after we moved in but it turns out that it was not well made and the firm that made it went bust ages ago. |
|
As a result, it looks like it's being held together with gaffer tape for a while and we decided there was no point getting a new door until we had something in place to protect it from the weather. |
|
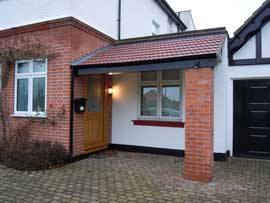
Den Tyler of Leadway arrived (recommended by Gilda) and came up with the plan for the canopy. Jayne recommended Steven Lillywhite and James Stroud of Wealden Wood, the door people, and they also came to measure up.
|
We needed to keep the glass (more valuable than the door we're told) so the door had to be made to accommodate it.
|
|
We waited until after our open garden and then Leadway started with the shelter.
|
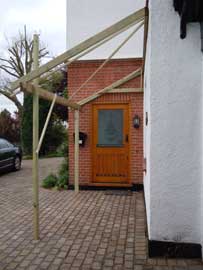
Day 1 - the basic frame work was put in place so we could check we liked the shape before they went any further.
|
|
|
|
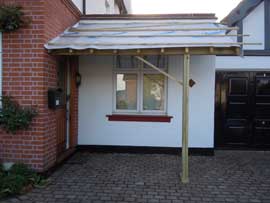
Day 2 - the rafters were put in place
|
|
|
|
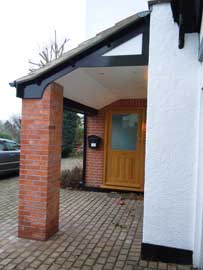
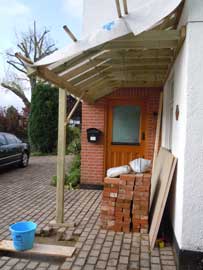
Day 3 - the bricks arrived, a hole was dug for the footings and we had a choice of roof tiles. Thankfully, we both agreed! |
Day 4 - we left Paul building the pier while we whizzed up North for a couple of days to deliver bean, courgette and bedding plants to Mum & Dad.
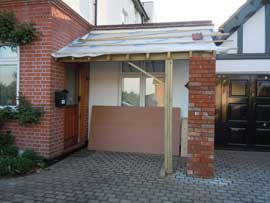
When we got back (Day 5) the brick pier was done. We'd had a chat with "Den's" Paul as to whether we wanted the pier to be 13.5 inches or 18 inches square and went for the larger size because we thought it would look better with the house. "Our" Paul will come and point the pier to match the house later.
|
|
|
|
Day 6 and the roof was on and it was really starting to come together. Can't understand why we didn't do this years ago. |
|
|
|
Day 7 - the brick pier was finished (other than Paul's special pointing), the drain pipe added (draining on the bed) and the trim was on. Then ... the rain came and nothing more could be done until Friday. |
Day 10 and Den and co were done.
Terry's lined up to come and do the painting and Paul to do the pointing.
|
|
|
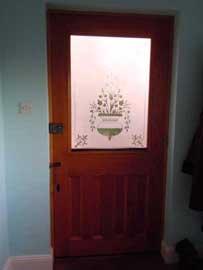
Next job was the door. Steven and James arrived and took the old one out - frame and all. This new door is oak, smells lovely and looks great. It's really solid and feels secure and the Banham locks are incredible (Jonathon's choice). |
|
|
|
| |
Terry and Paul came and did their bits of painting, pointing and generally prettifying and we're all done. |
|
|
|
|
.jpg)
.jpg)
.jpg)
.jpg)
.jpg)
.jpg)
.jpg)
.jpg)
.jpg)
.jpg)
.jpg)
.jpg)
.jpg)
.jpg)
.jpg)
.jpg)
.jpg)
.jpg)
.jpg)
.jpg)
.jpg)
.jpg)
.jpg)
.jpg)
.jpg)
.jpg)